What is Banh Tet rice cake? Let’s try this traditional Vietnamese rice cake.
What is Banh Tet Rice Cake
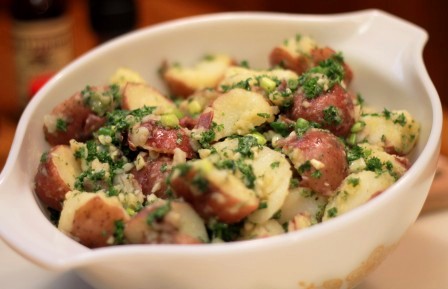
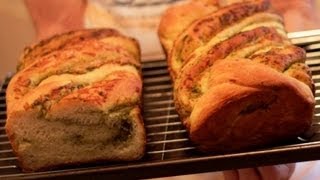
Banh tet rice cake is a staple dish served to celebrate the Lunar New Year in Vietnam. It’s a very popular dish in Vietnamese culture, and if you live near a Vietnamese market or deli, you’ll probably be able to give it a try–and I recommend you do. It’s pretty tasty, kind of addictive, and a bargain dish in the International District in Seattle. I’ve eaten many bánh tét rice cake since shooting this video, and I see many more in my future.
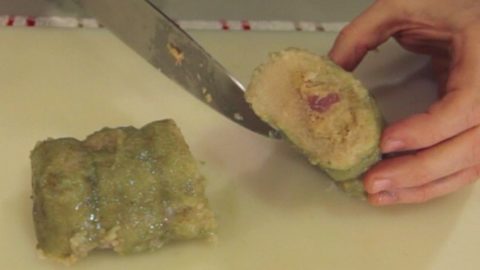
Making a bánh tét rice cake often begins the day before Tét. The ingredients are prepared then cooked for at least six hours in a pot of boiling water. Glutinous rice, mung bean paste, and cooked pork fat are the main ingredients. The ingredients are layered on top of banana leaves and then wrapped tightly together with string. Bánh tét are generally wrapped several times with a string before boiling in a large pot of water to prevent the banana leaf from coming apart during cooking. The cake is savory, but sometimes sweetened, and tastes great with chili sauce.
If you liked this banh tet rice cake video, check out my Cool Foods Playlist
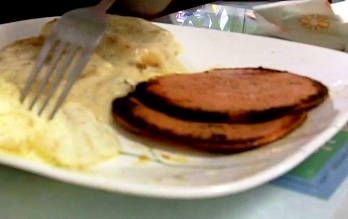
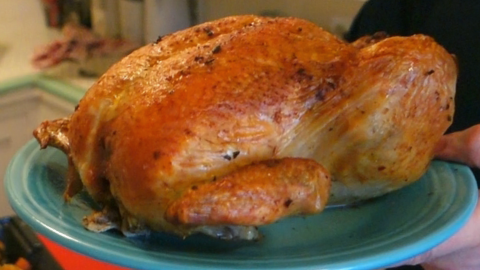
Ever Try Vietnamese Ham?
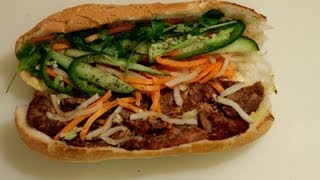
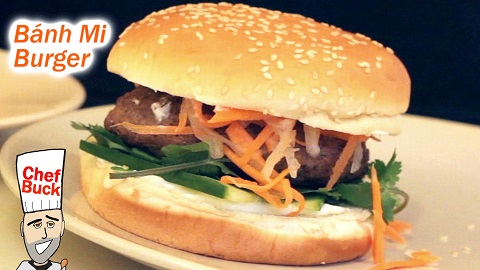
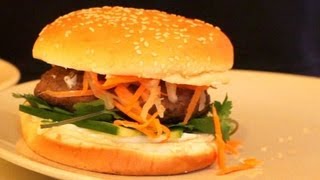
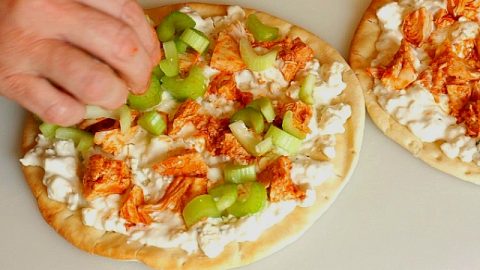
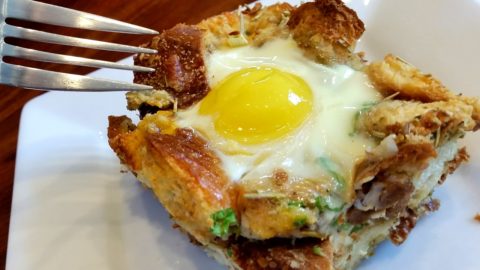
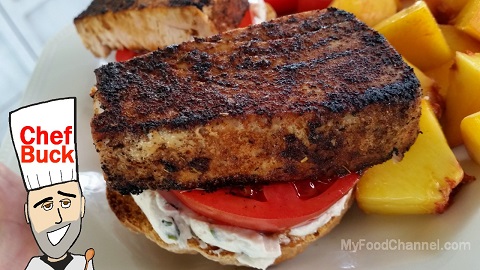
Ever Try a Banh Mi sandwich?
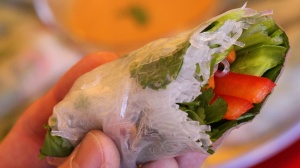
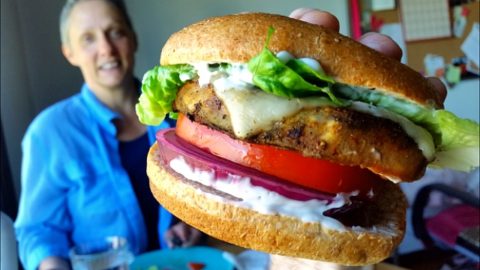
What is in a Banh Mi? Lets take one apart and see what we got.
This is the best Banh Mi, so far–thanks to eastsidegirl1977 for the great Seattle recommendation. I’ve been eating lots of these Vietnamese/French fusion sandwiches–maybe too many–but it’s too great a taste and value to pass up.
Thanks for Watching our Banh Tet Video
Click a button below and share the dishes with your friends. You can also follow Chef Buck on Youtube. We appreciate all the kind comments and support, and we’ll see you next time in the kitchen!
If you like what CG and I do, support us on Patreon, or throw us a tip in our Paypal Tip Jar. We’ll happily enjoy a coffee on the road – Thanks! We appreciate all the support, and we’ll see you next time in the kitchen!
We include affiliate links for products on our website. Making a purchase after clicking on our links and we may earn a commission which helps us produce more videos and drink more coffee :^) We participate in the Amazon Services LLC Associates Program, which is an affiliate advertising program. It provides a means for us to earn fees by linking to Amazon.com and affiliated sites, so we can make more videos.
If you’re new to home cooking, get a bunch of spices, pots and pans, and start experimenting with different recipes. It’s a healthy hobby that can save a lot of money in the long run. Check out current prices for Complete Kitchenware Sets on Amazon as well as Complete Starter Spice Kits. Or try a thrift store! I’ve found some of my favorite kitchen gear at second-hand stores.