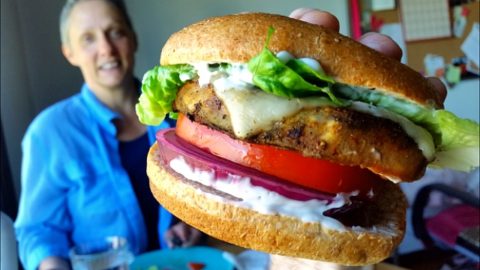
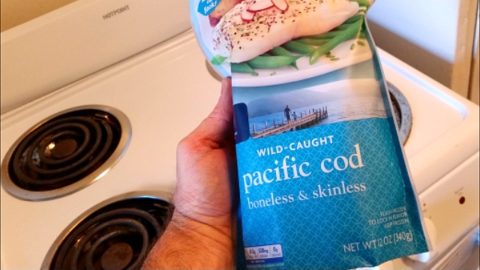
Cod fillets make a great baked fish recipe. This recipe is great for all types of fish, especially cod or tilapia fish fillets, which are generally good buys at the supermarket. Cod and
tilapia are both low key fish with a mild flavor, so baking them in the oven with a homemade tartar sauce and panko breadcrumb topping adds a nice twist. This baked fish recipe cooks up quick and is
perfect for family meals.
What You Need for this Baked Fish Recipe
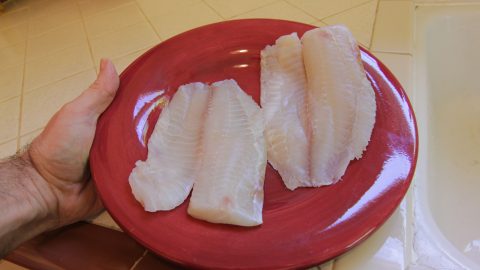
2 COD FILLETS (about 8oz each)
½ ONION (sliced)
½ cup PANKO BREADCRUMBS check current prices on Amazon
1 Tbsp melted BUTTER
½ tsp PAPRIKA (optional)
SALT and PEPPER to taste
chopped fresh DILL
spray cooking OIL for pan and onions
sauce:
½ cup MAYONNAISE
some chopped fresh DILL
1-2 Tbsp chopped PICKLES or PICKLE RELISH
spoonful or two of the pickling solution or
1 Tbsp fresh LEMON JUICE (add zest for extra lemony-ness)
(also…add a sqeeze of dijon mustard if desired)
How to Make a Baked Fish Recipe
- Pat the cod fillets dry and lightly season with salt and pepper
- Heat a skillet on the stove top and melt butter.
- Turn burner off, add breadcrumbs to the skillet and stir until butter is absorbed.
- Add salt, pepper, any other spices desired, ½ of the chopped dill, and mix well.
- To make the sauce, combine the remaining dill, mayonnaise, chopped pickles, and pickling solution or lemon juice, in a bowl, and stir until smooth.
- Spray a baking pan or aluminium foil with cooking spray. If you need an oven-safe pan, you can check here for current prices for baking sheets on Amazon.
- Lay onion slices in pan and place fillets over top the onions.
- Evenly coat the tops of the fish with the tartar sauce mixture.
- Sprinkle and press the seasoned panko crumbs into the sauce.
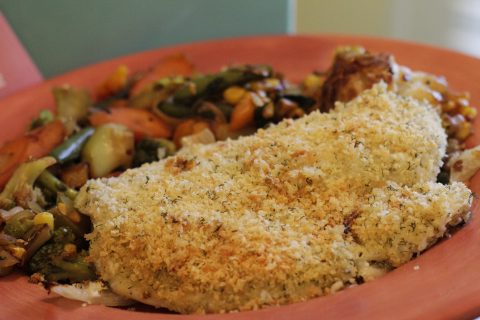
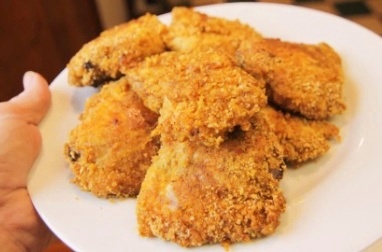
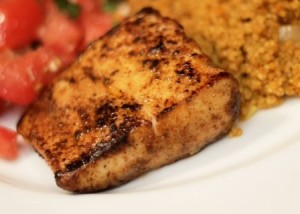
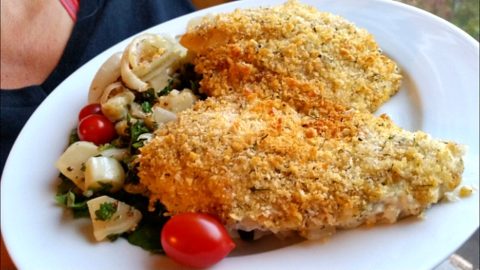
- Place pan in oven and bake at 400 degrees F for 20-25 minutes until the crumb topping has turned a nice, golden brown.
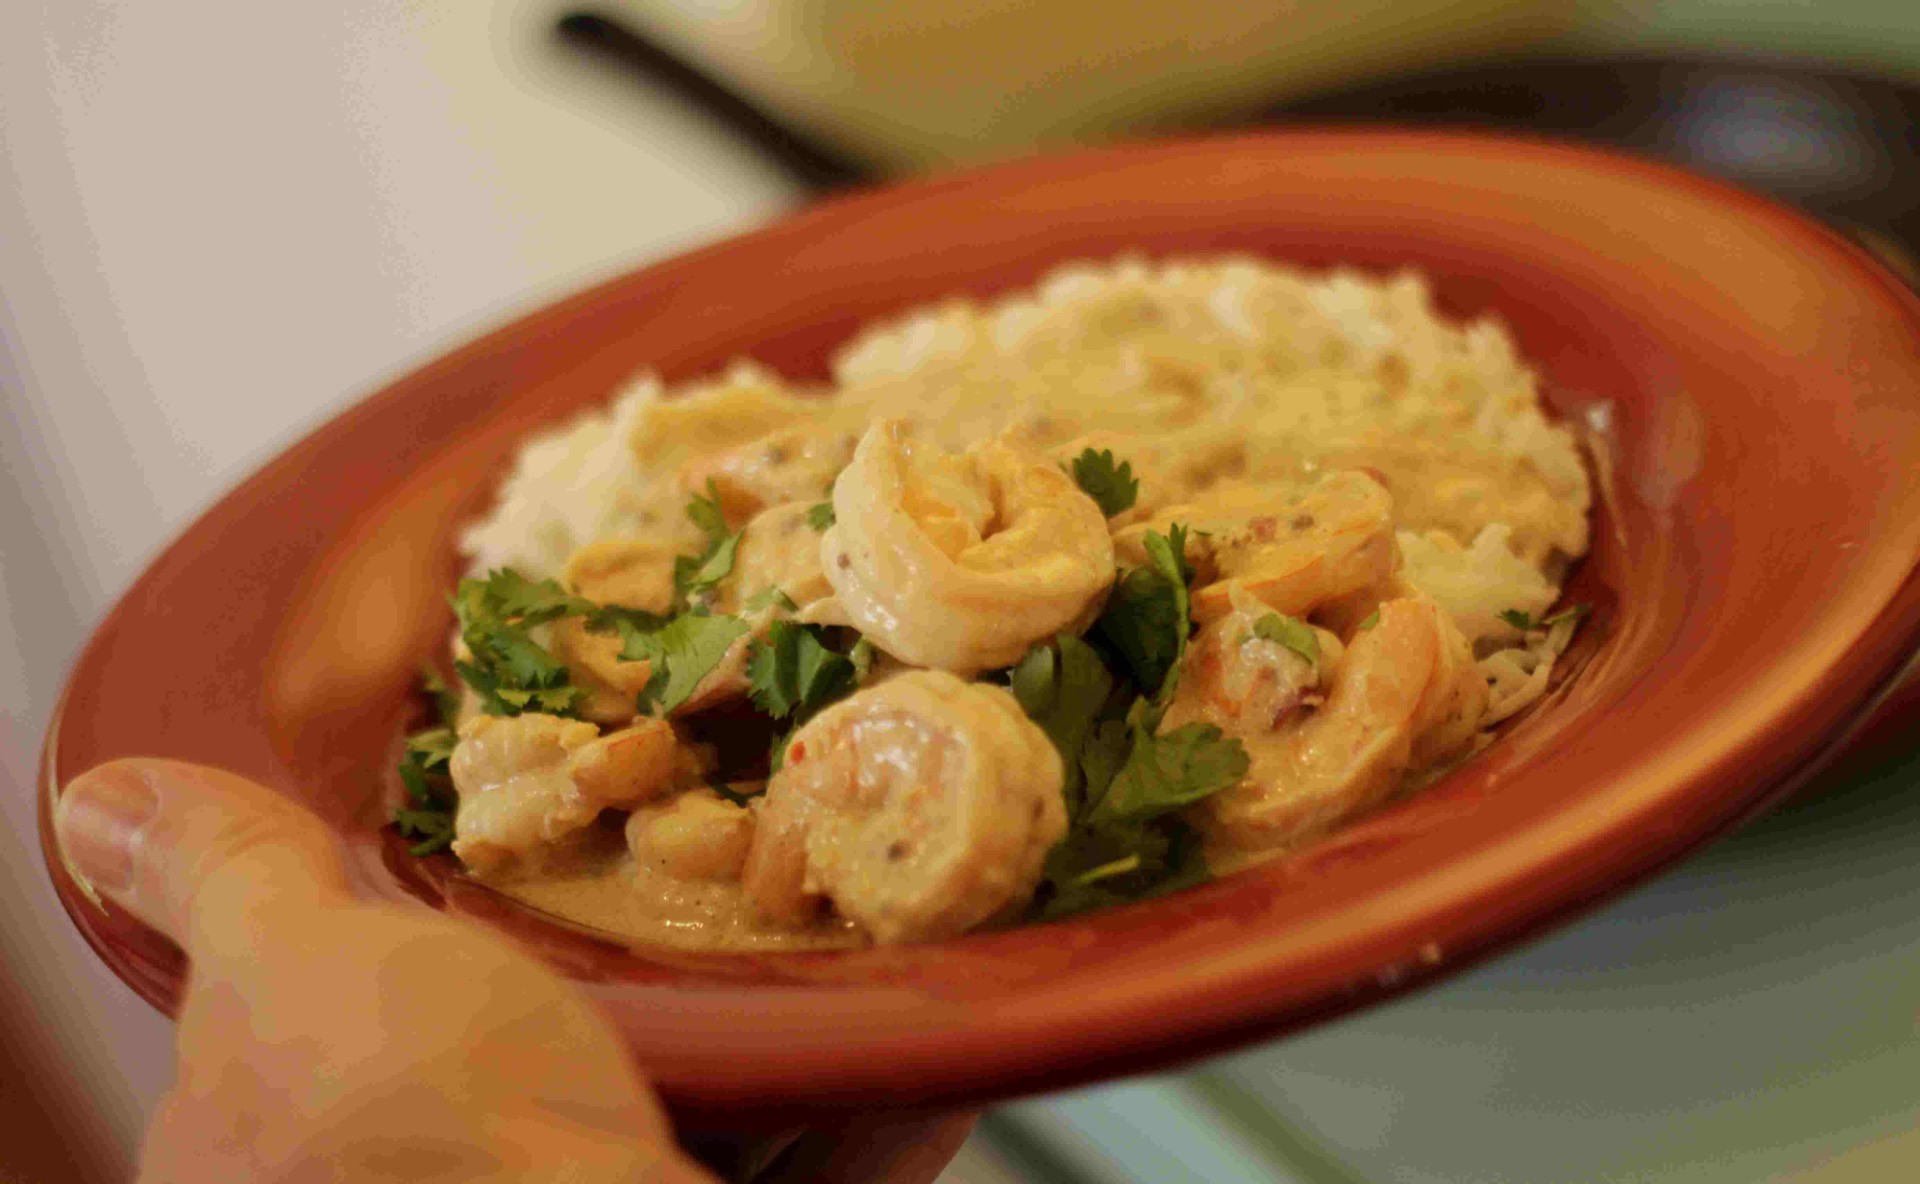
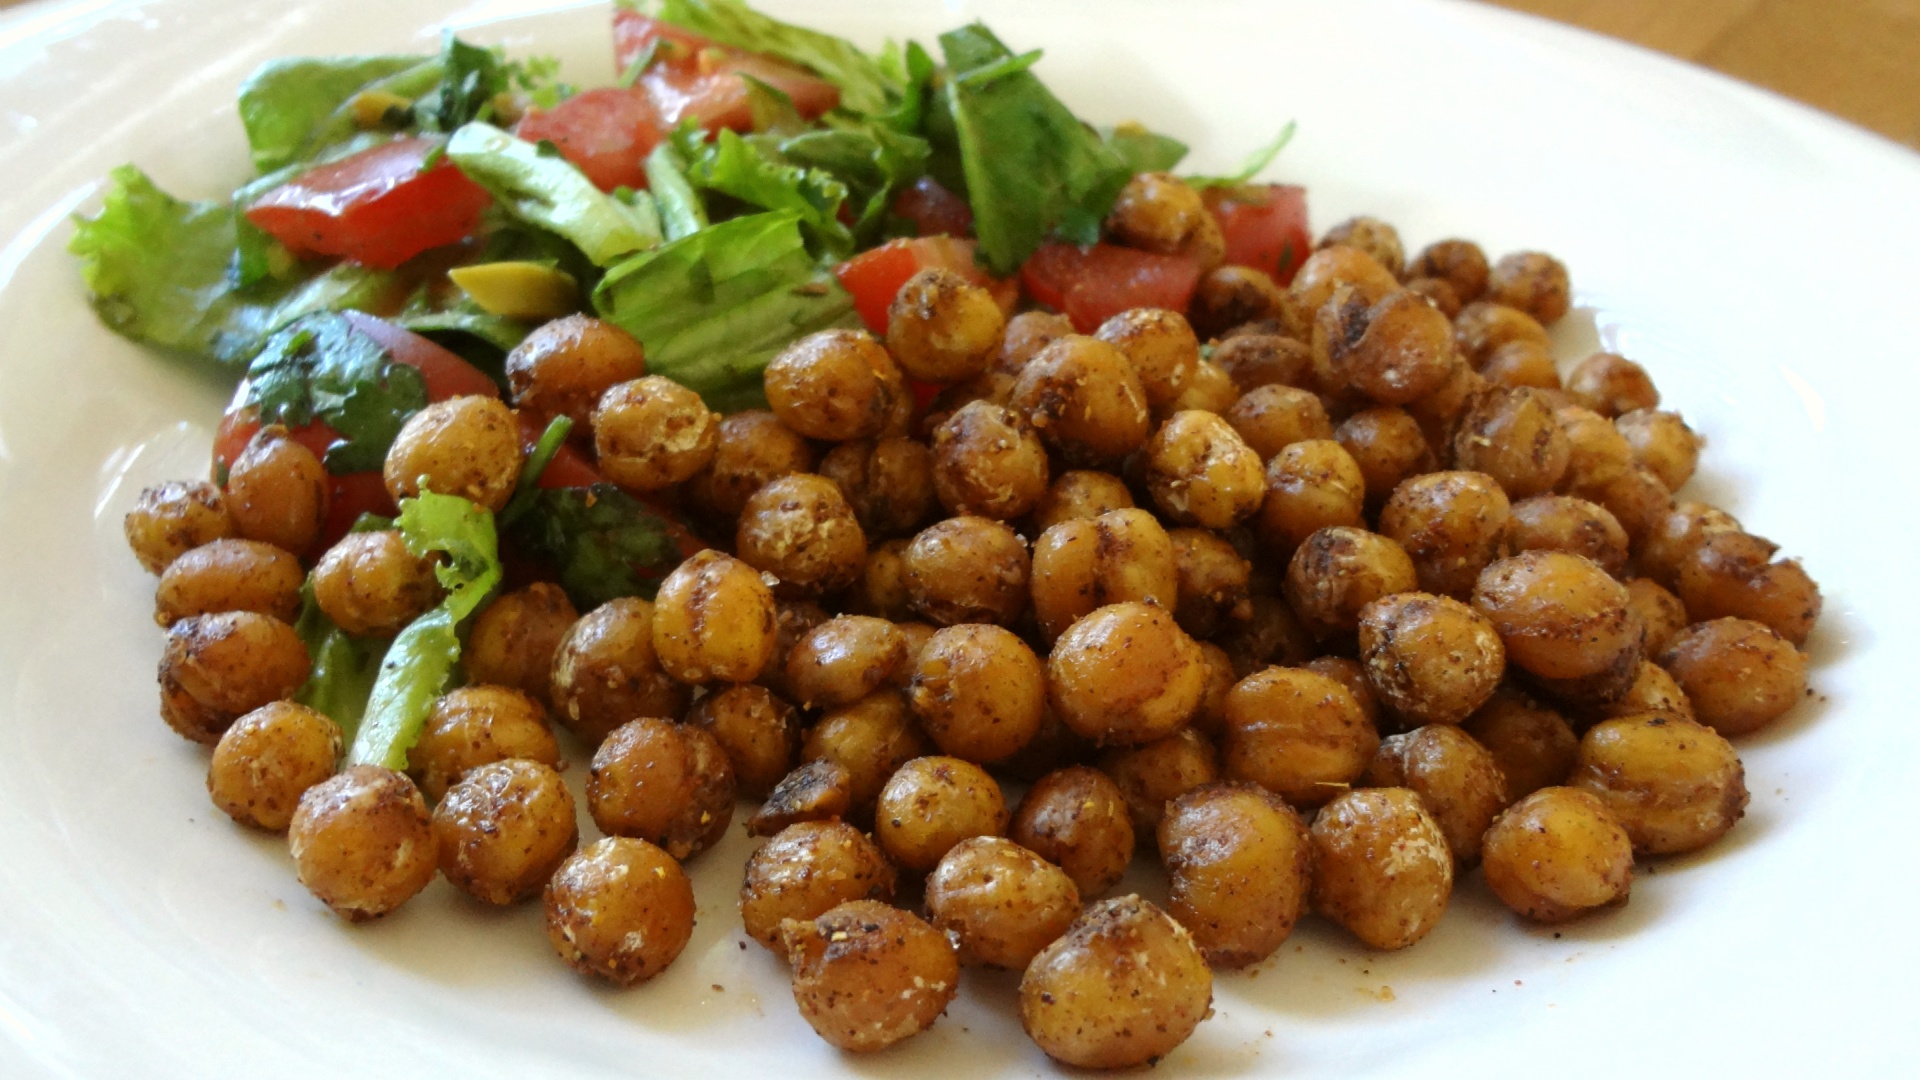
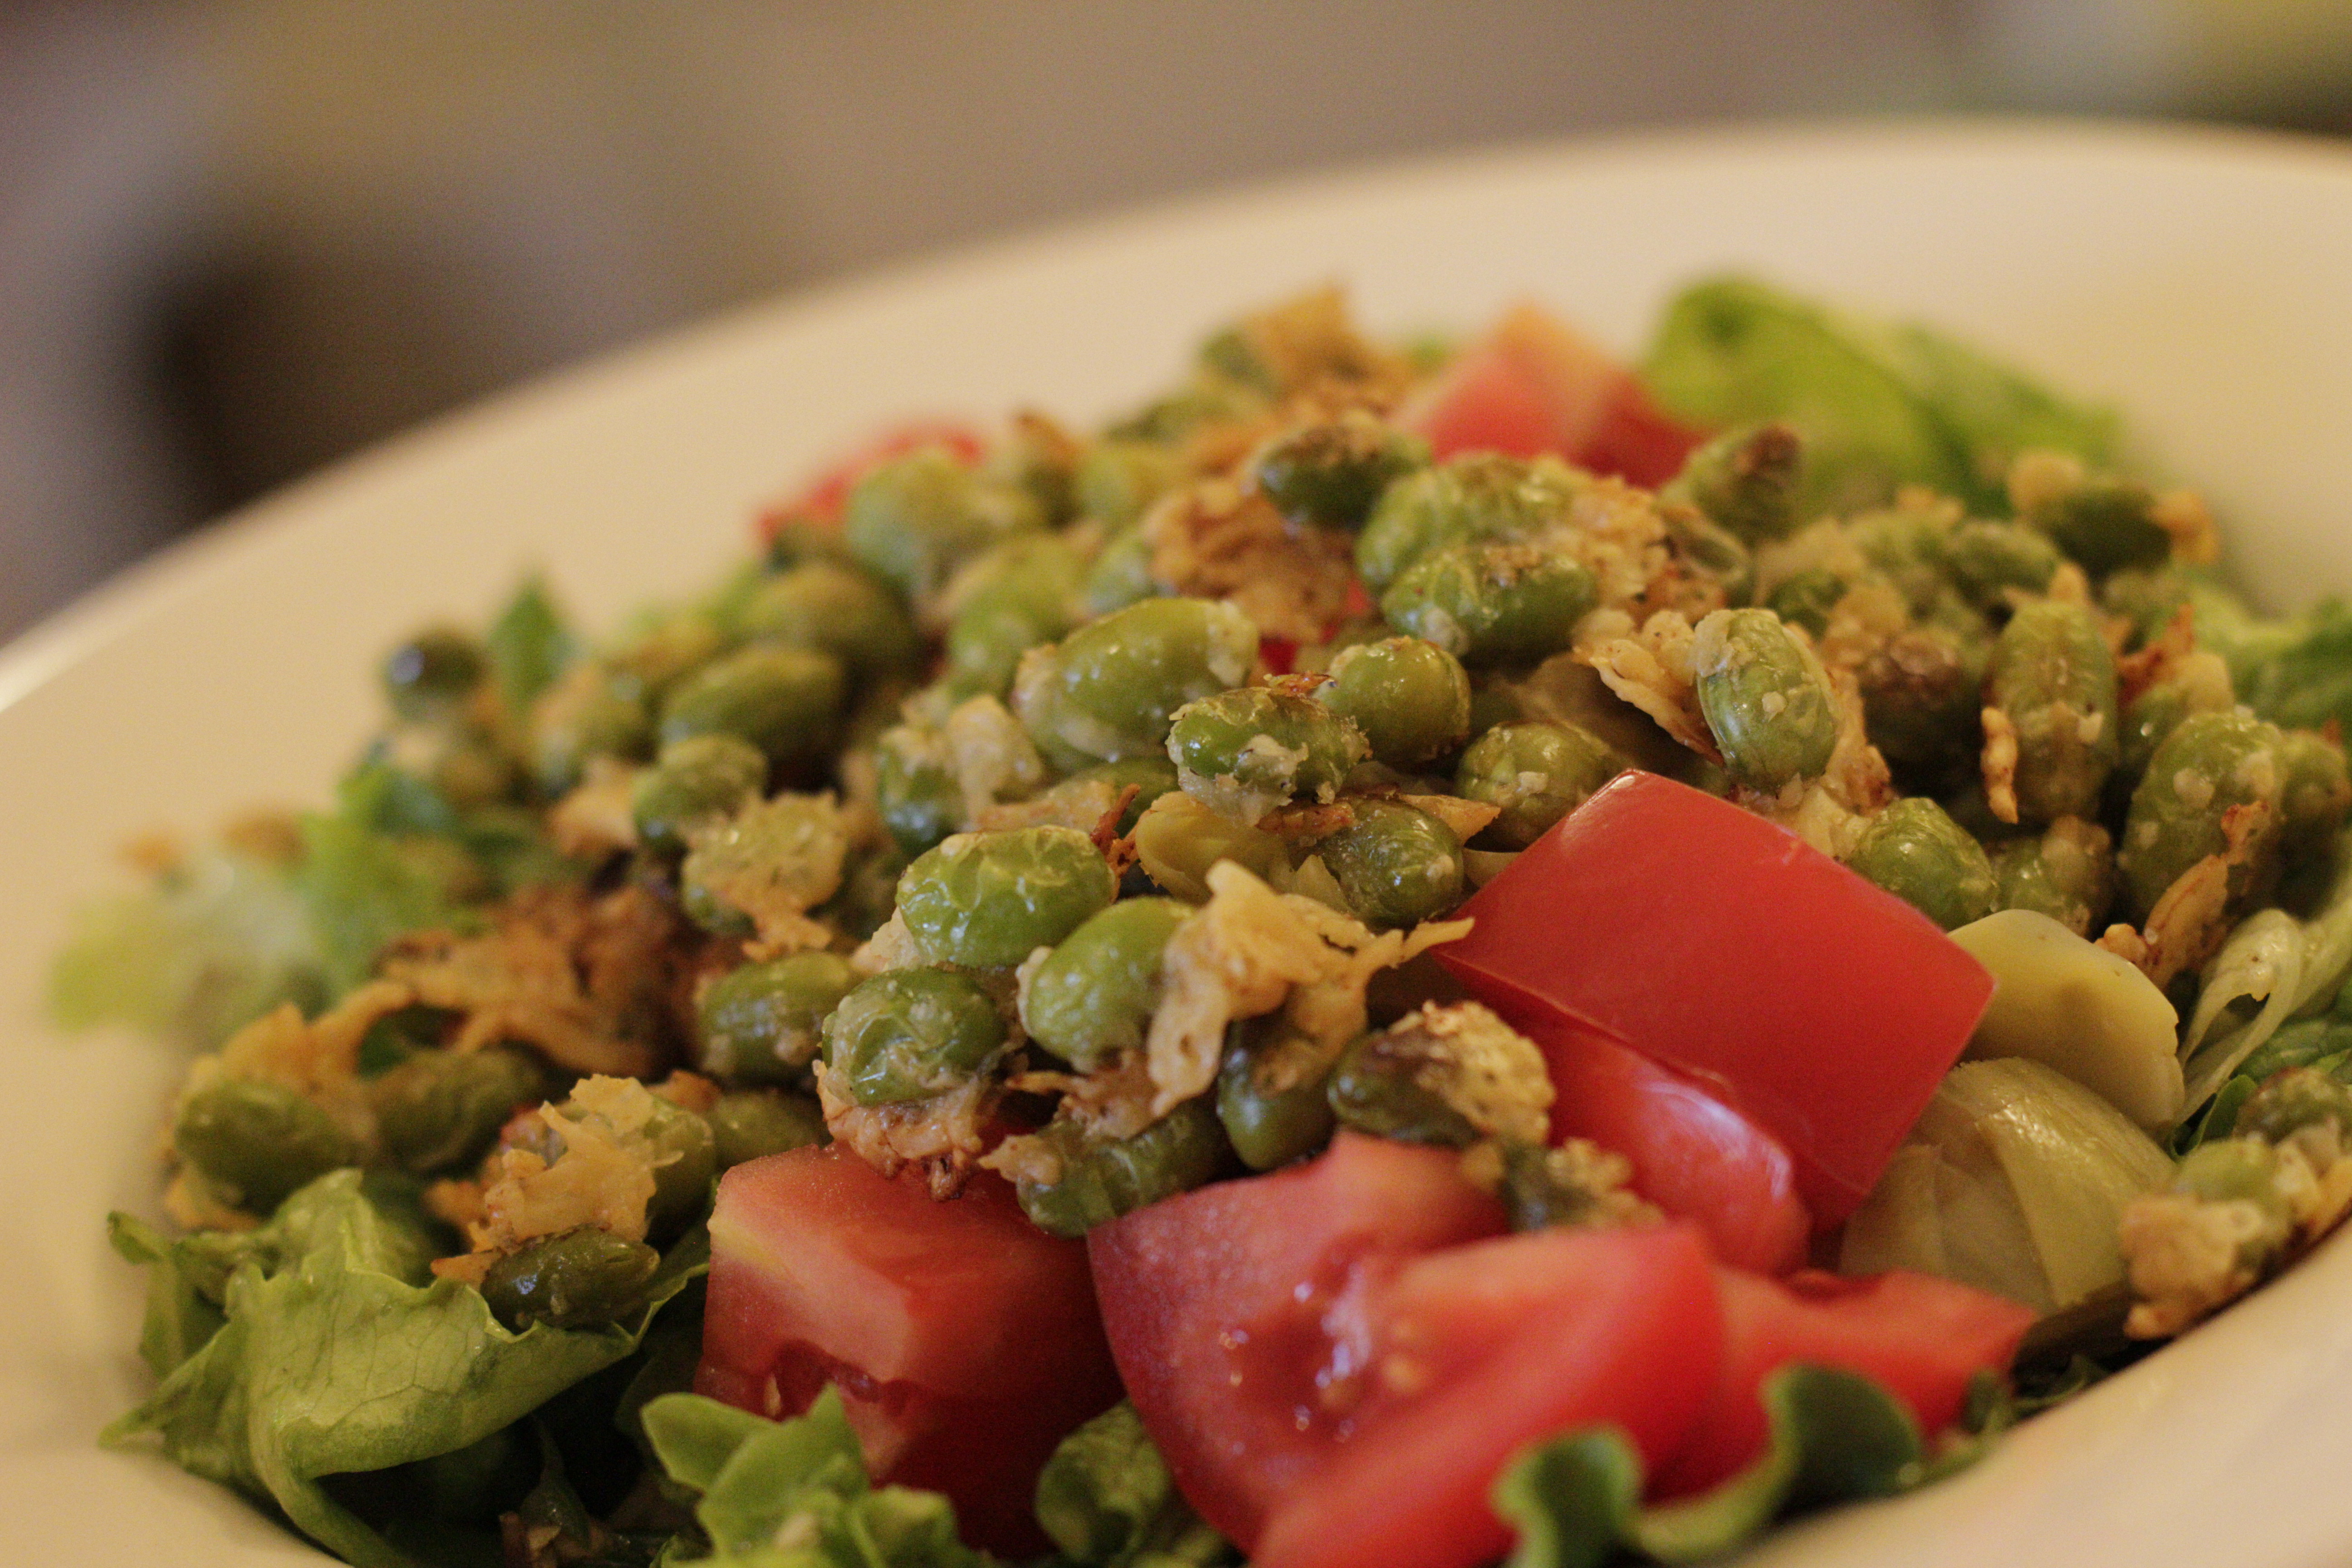
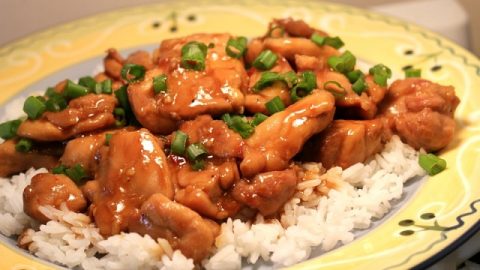
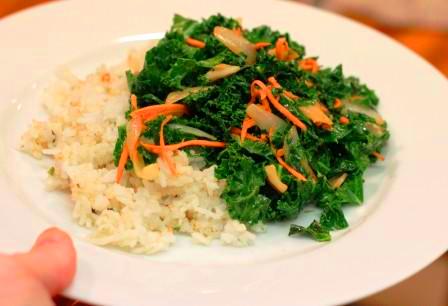
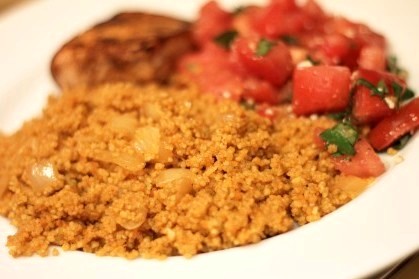
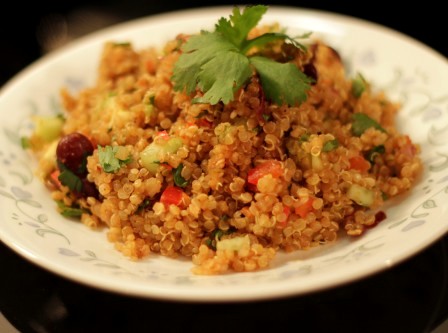
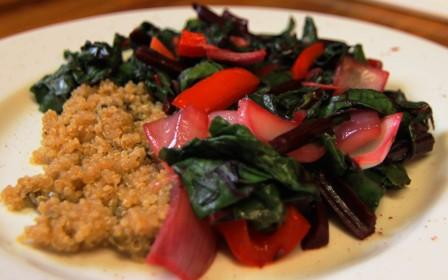
- Serve with rice and veggies.
And enjoy!
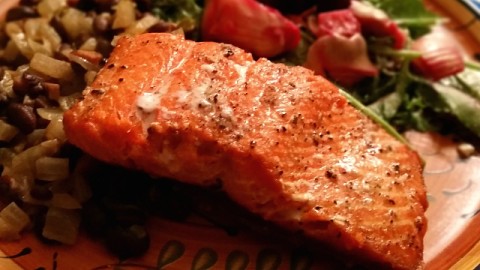
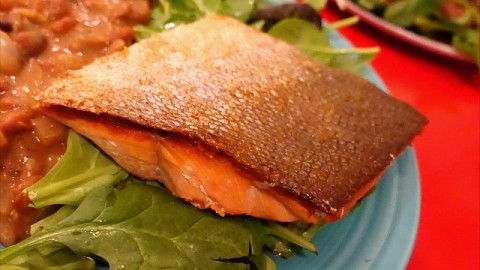
And for another easy fish recipe, here’s a quick way to cook up a crispy skin Stove top Salmon Fillet Recipe.
Thanks for checking out our baked fish recipe, and all of our recipes. Be sure and sign up for our mailing list and never miss a new Chef Buck cooking video, and also click a button below and share the dishes with your friends. We appreciate all the kind comments and support, and we’ll see you next time in the kitchen!
Thanks for watching our recipe videos!
We include affiliate links for products on our website, so if you make a purchase after clicking on our links, we may earn a commission which helps us produce more videos and drink more coffee :^) We participate in the Amazon Services LLC Associates Program, which is an affiliate advertising program providing a means for us to earn fees by linking to Amazon.com and affiliated sites, so we can make more videos.