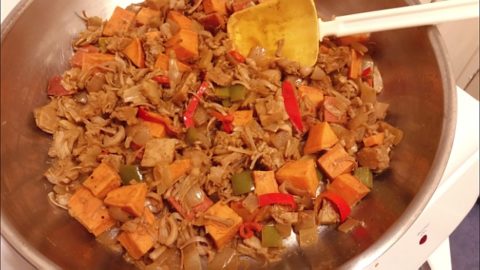
Mashed Plantains are a tasty twist on a mash potato recipe, and it’s my go-to recipe for green, unripe plantains. If you’re in a potato rut, give unripe plantains a try and surprise your family. Just boil and mash plantains with your favorite seasonings, plus garlic and onion if you want to really make a tasty mash. Cooking bananas are not sweet at all, they make a great savory starch you can use in a variety of recipes. Try substituting green plantains in some of your favorite potato recipes, it’s an easy way to put a twist on dinner.
What you need for this Mashed Plantains Recipe
2 unripe PLANTAINS
3-5 cloves GARLIC finely chopped
1 ONION chopped
SALT
PEPPER
in this recipe I also use:
GARLIC POWDER
CHILI POWDER
FENNEL SEEDS
PAPRIKA
…but experiment with seasonings you like
2 Tbsp BUTTER
MILK or CREAM
OIL for sauteing

How to Make Plantain Mash
- Choose firm, green, unripe plantains.
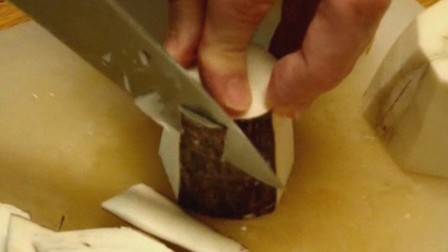
- Slice off the very tips of the plantain, but leave on the peeling.
- Cut the unpeeled plantain into about three sections.
- Bring a pot of salted water to boil and add the plantain sections.
Reduce the heat and let the plantains simmer for about 20 minutes, or until a knife passes easily into the plantain. - While plantains boil, heat a skillet and oil on medium heat.
- Add onions and saute 2 minutes.
- Add garlic and seasonings and continue to saute another 4-5 minutes.
- Remove skillet from the heat and set aside until plantains have completed boiling.
- Once a fork passes easily through the plantains, remove plantains from the water.
- Make a slice along the length of the cooked plantain and remove the peeling.
- Place cooked plantains into a bowl and mash.
- Add butter.
- Add sauteed onion/garlic and mix well.
- Pour milk or cream 1-2 Tbsp at a time, mixing until the desired consistency is reached.
Whether you call this dish mashed plantains, mofongo, or mangu, it’s gonna be yummy. Serve just like mashed potatoes!
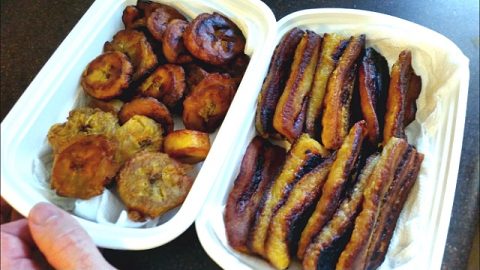
Unripe green plantains are a terrific ingredient that you can use in all kinds of savory, starchy dishes. Definitley give them a try, and for a sweeter option, try ripe plantains. The simple fried plantain recipe below is one of the best ways to use ripened plantains.

How to cook Sweet Fried Plantains
Avoid green plantains for frying, and buy plantains that are yellow to black in color. Feel the plantains and select ones that are soft or only semi-firm, you can buy the super soft blacker plantains, but I prefer more texture.
- Heat a skillet on medium heat and add oil.
- Slice the tips off of the plantain and peel away the skin.
- Cut the plantain in half through the middle, and then cut each half lengthwise into 3-4 planks.
- Slide plantains into the hot skillet.
- Season top half if desired, I like to use a mix of chili pepper and cinnamon.
- Fry until the bottom begins to brown, then turn and brown other side.
- Add more seasoning if desired, or even some sugar, if you’re crazy.
- Once the plantains are cooked to desired color, remove and drain on a paper towel,
Serve warm.
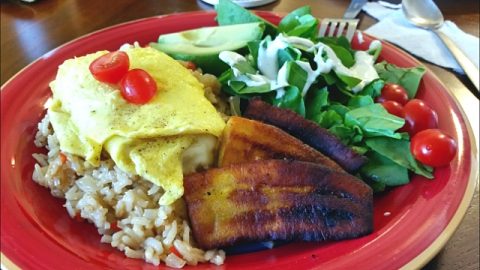
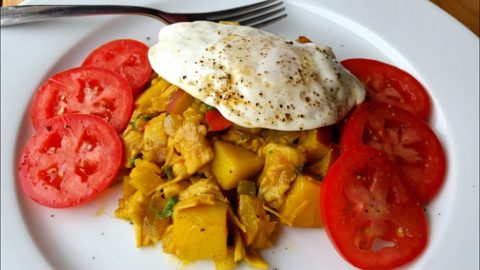
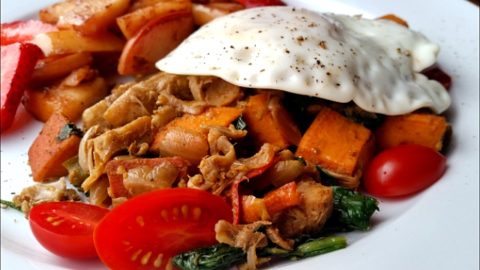
They are great alone as a snack, or a tasty side dish, especially with rice or a seasoned meat dish. Have you ever heard of the expression “a little sweet and some meat”? Plantains mare a perfect combo for this dining idea. I really enjoy fried plantains for breakfast with fried eggs.
Give fried plantains a try and let me know what you think, and try mashed plantains, as well. Depending on the ripeness of the plantain, you can use them for a wide variety of dishes.
Sign up for our Recipe Mailing List and receive our latest recipe video right in you inbox!
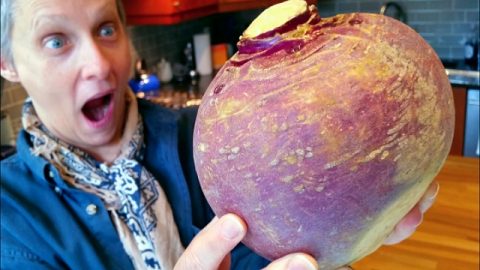
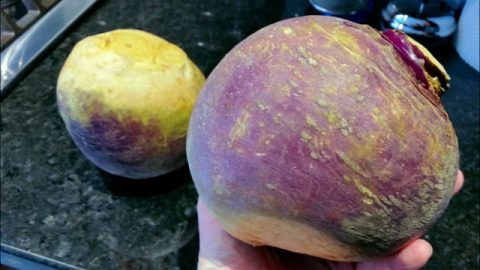
If you liked the idea of green plantains as a starchy alternative to potato, you might like trying a Delicious Rutabaga Recipe, too.
Thanks for checking out this Mashed Plantains Recipe and video, if you enjoyed the dish, click a button or two below and share it with your friends. And if you’re on Youtube often, subscribe to the Chef Buck Cooking Channel.
I appreciate it, thanks!
–Chef Buck